
Recorded meetings or lectures and somehow, it’s just not so easy to comprehend and maybe the captioning was turned off or isn’t available?
Well look no further but Microsoft’s Clipchamp has your back. Yep, you heard me. The folks at that large corporate entity responsible for so many software tools we use day in and day out have come out with another one. Ok, technically Clipchamp was developed by an Australian company, now a Microsoft subsidiary. That however is beside the point. Ya see not only is Clipchamp a quick and easy video editor. But to increase its utility it has a very useful text to speech function. In other words, just what we need to caption recorded videos and make them that much more accessible.
So, my faithful reader in the spirit of reducing those content barriers I shall walk through Clipchamp’s caption function.
Clipchamping on the Web we go!
Now while Clipchamp is available from the Microsoft Store here I will step through its use through the browser interface. But really the workflow is essentially the same. To the web we go!
- In your Edge or Chrome (Firefox not supported – bummer) browser navigate to
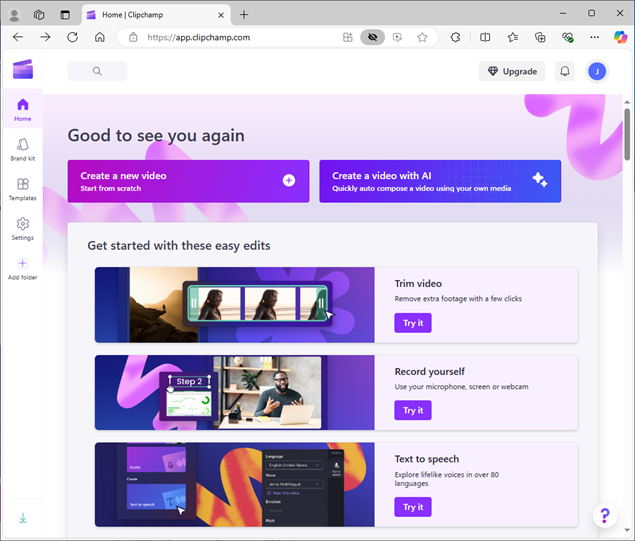
Here you’ll need to login with one of set of credentials from:
- Microsoft
- Scroll down to “Text to speech” and select the accompanying “Try it” button.
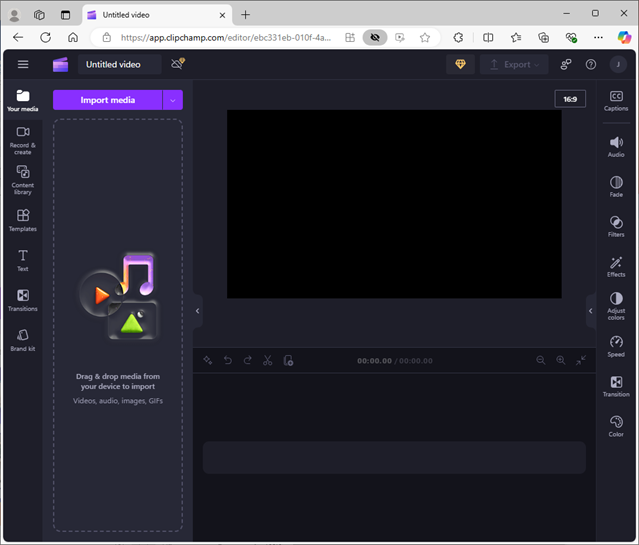
- At this subsequent screen you’ll have the option of:
Selecting to Record new content
As well as:
Uploading “Your media”
For myself I’m gonna select “Your media” and then click the “Import media” button.
And I’ve selected to upload my recent “Oral-B_iO_BrushHeadReplacement.mp4” I created.


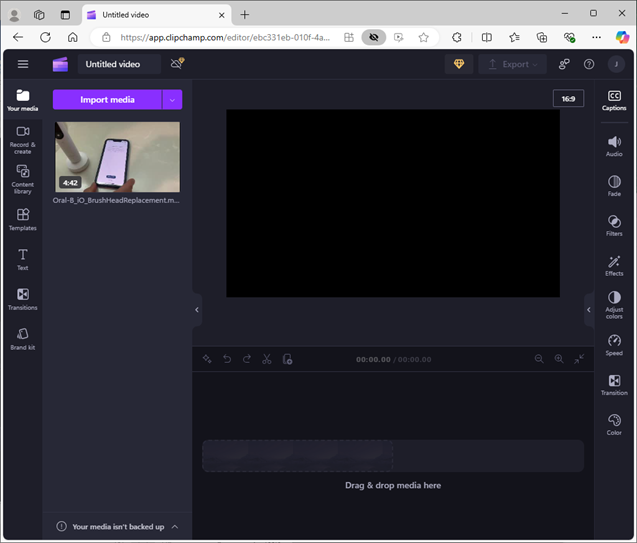
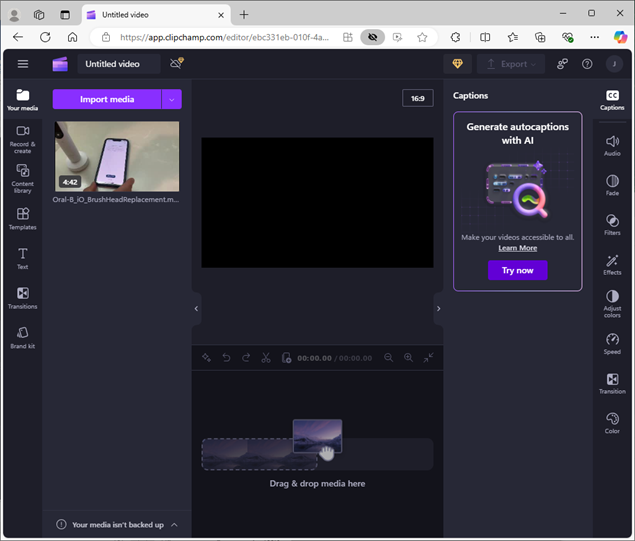
- From this subsequent screen you’ll need to drag the imported video to the timeline to the right and just below.
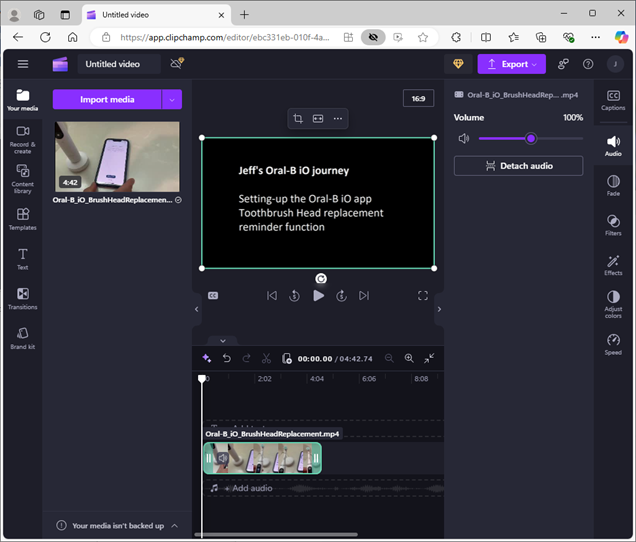
- You’ll need to make sure import of your video is complete. Once that is done then select the Caption button at the top right.

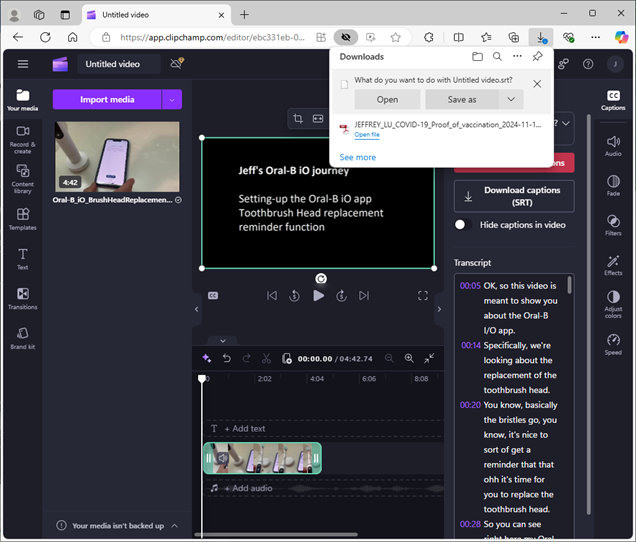
- Your captions are generated and then select “Download captions (SRT)”.

- Then with the Downloads pop-up select where you want to save the file.
- I’ve used the same name as the name of my video which will make it so that playing the video in the same location as the SRT caption file will automatically display the captioning.
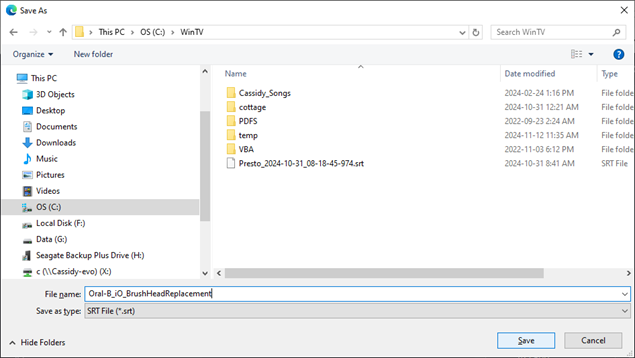
- As mentioned you should have the original video and SRT caption file in the same location with exception for the file extension have the same name. In my case these would be:
Oral-B_iO_BrushHeadReplacement.mp4
Oral-B_iO_BrushHeadReplacement.srt
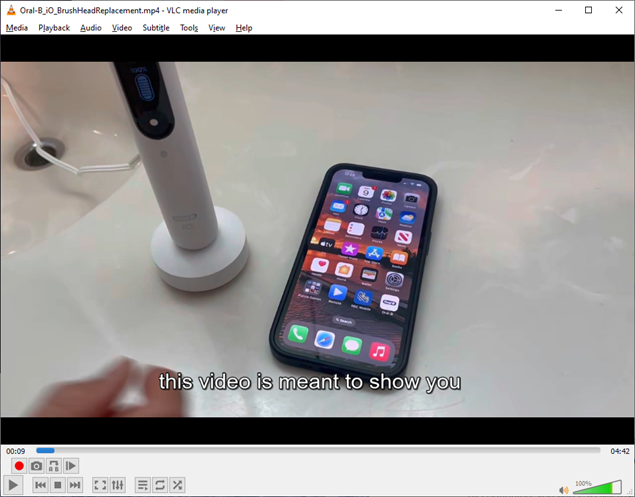
- Now play your video file and the captioning should appear.
And to the next post Batman!